Trend Micro Vision One
TrendMicroVisionOne enhances and consolidates detection, investigation and response capabilities across email, endpoints, servers, cloud workloads and networks.
- Installation guide
- Trend Micro Vision One data model
Installation
In TrendMicroVisionOne
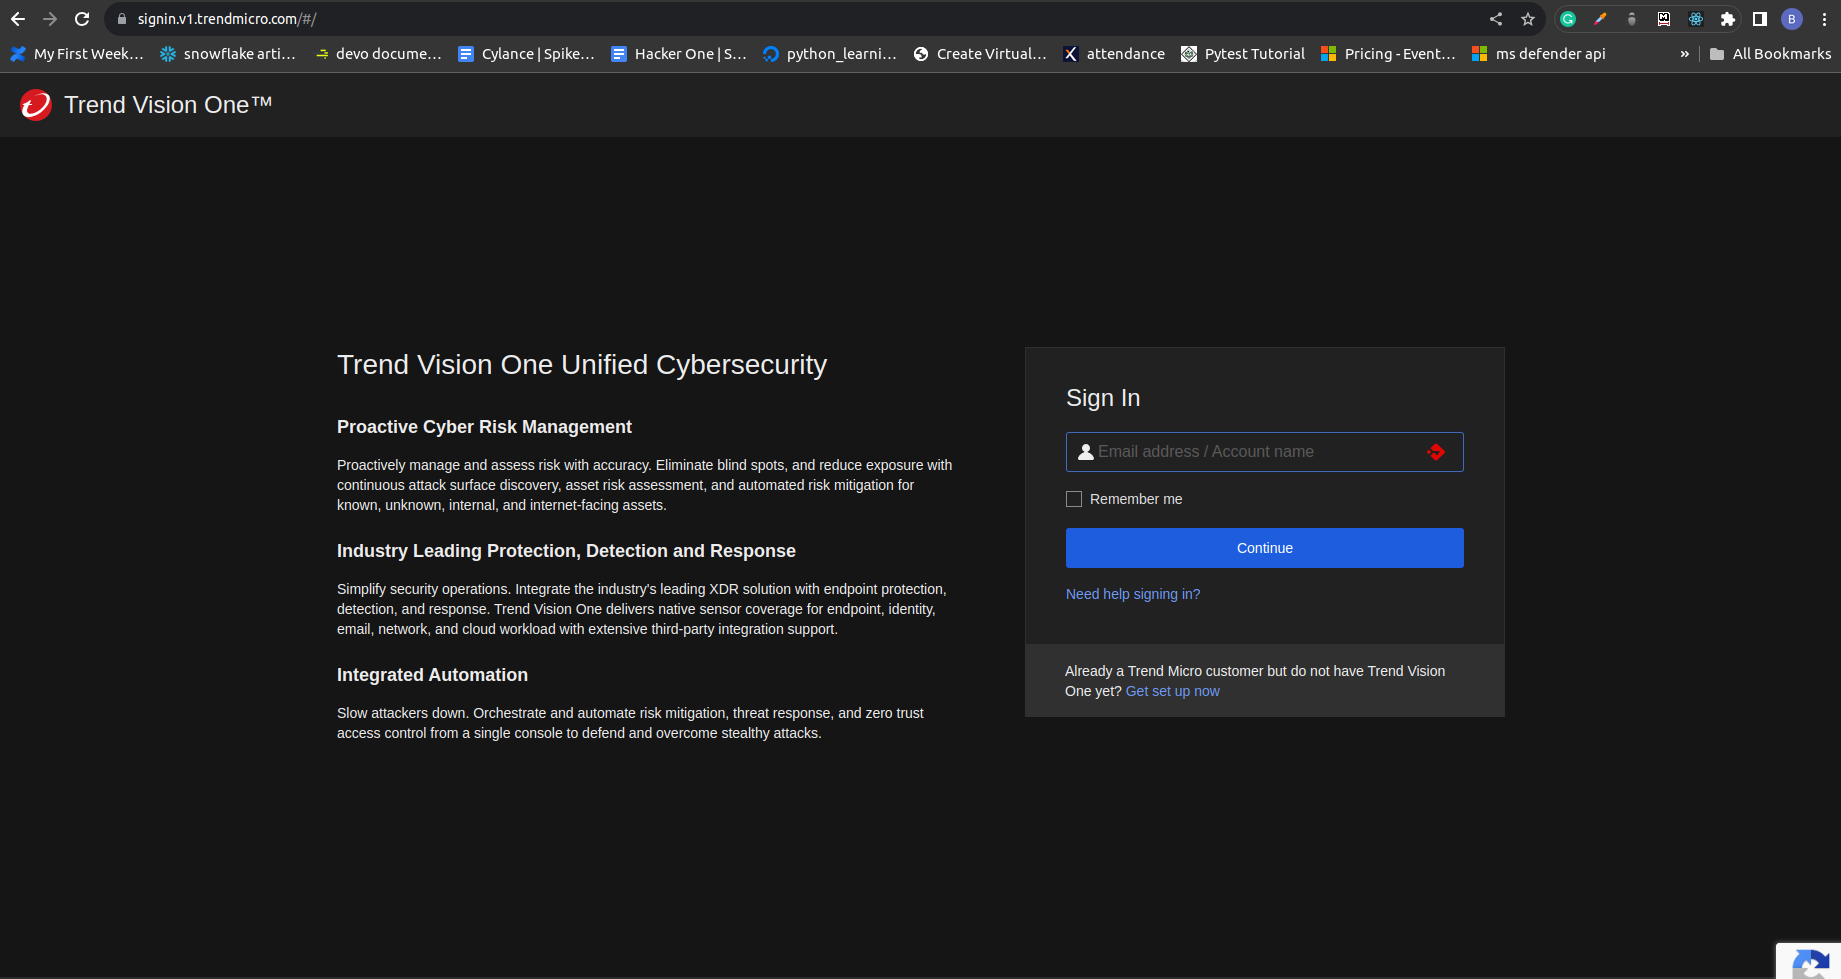
- Create a TrendMicro Vision One Account.
- Login to the Tenant using the URL:
https://portal.<county_Region>.xdr.trendmicro.com
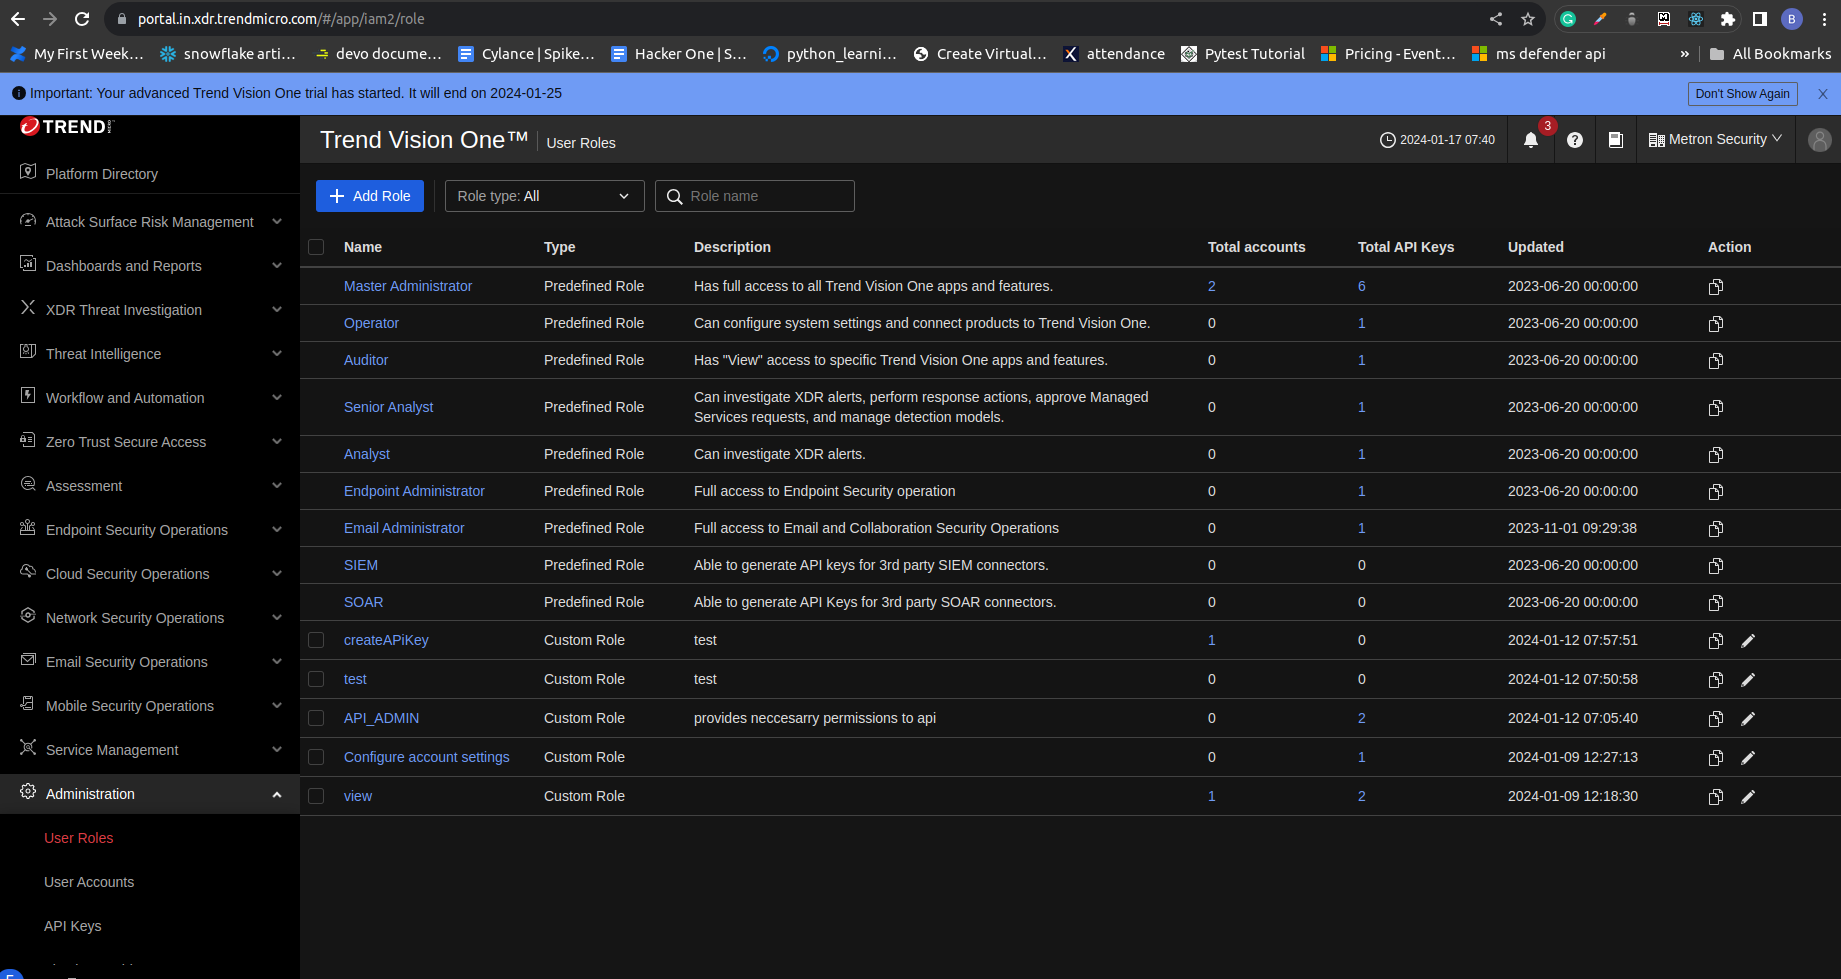
- Create a User Role
- Go to Administration > User Role > Add Role
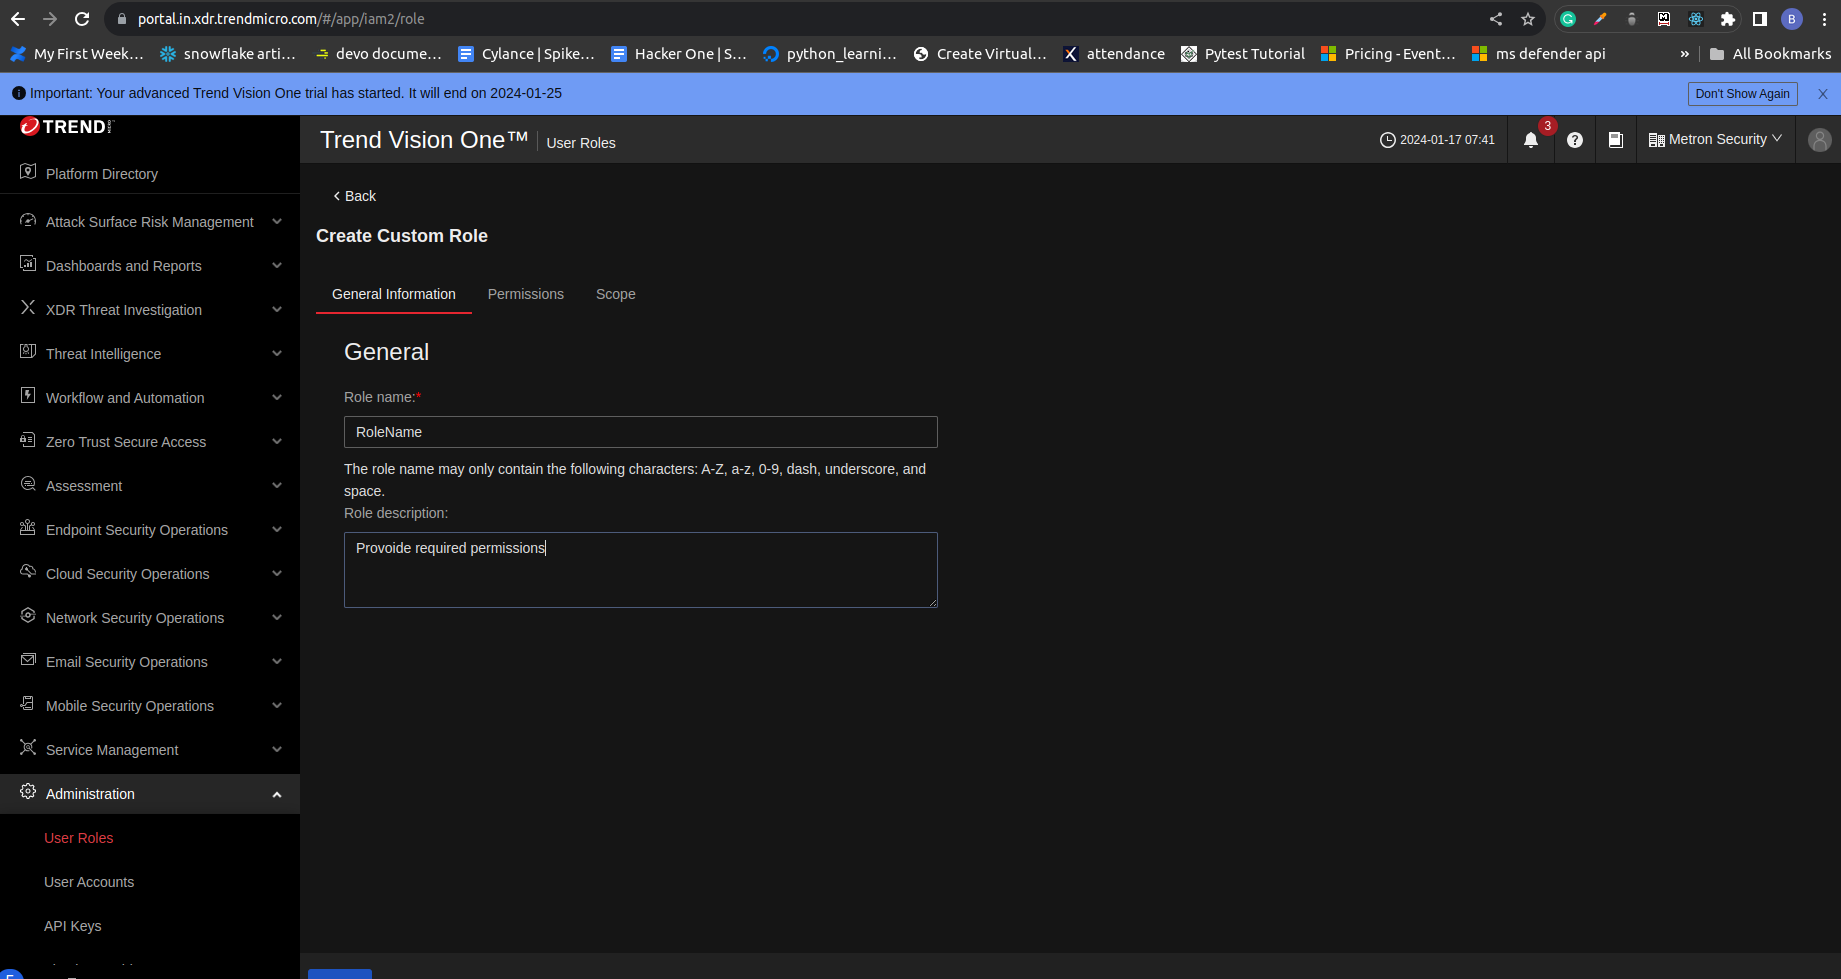
- Under the General Information section, provide the appropriate role
name and role description.
- Under the Permission section, provide the following permissions:
- Cloud Account Management (View)
- User Accounts (View)
- Endpoint Inventory (View)
- Workbench (View, Filter, Search)
- Report Management (View, Configure, and Download)
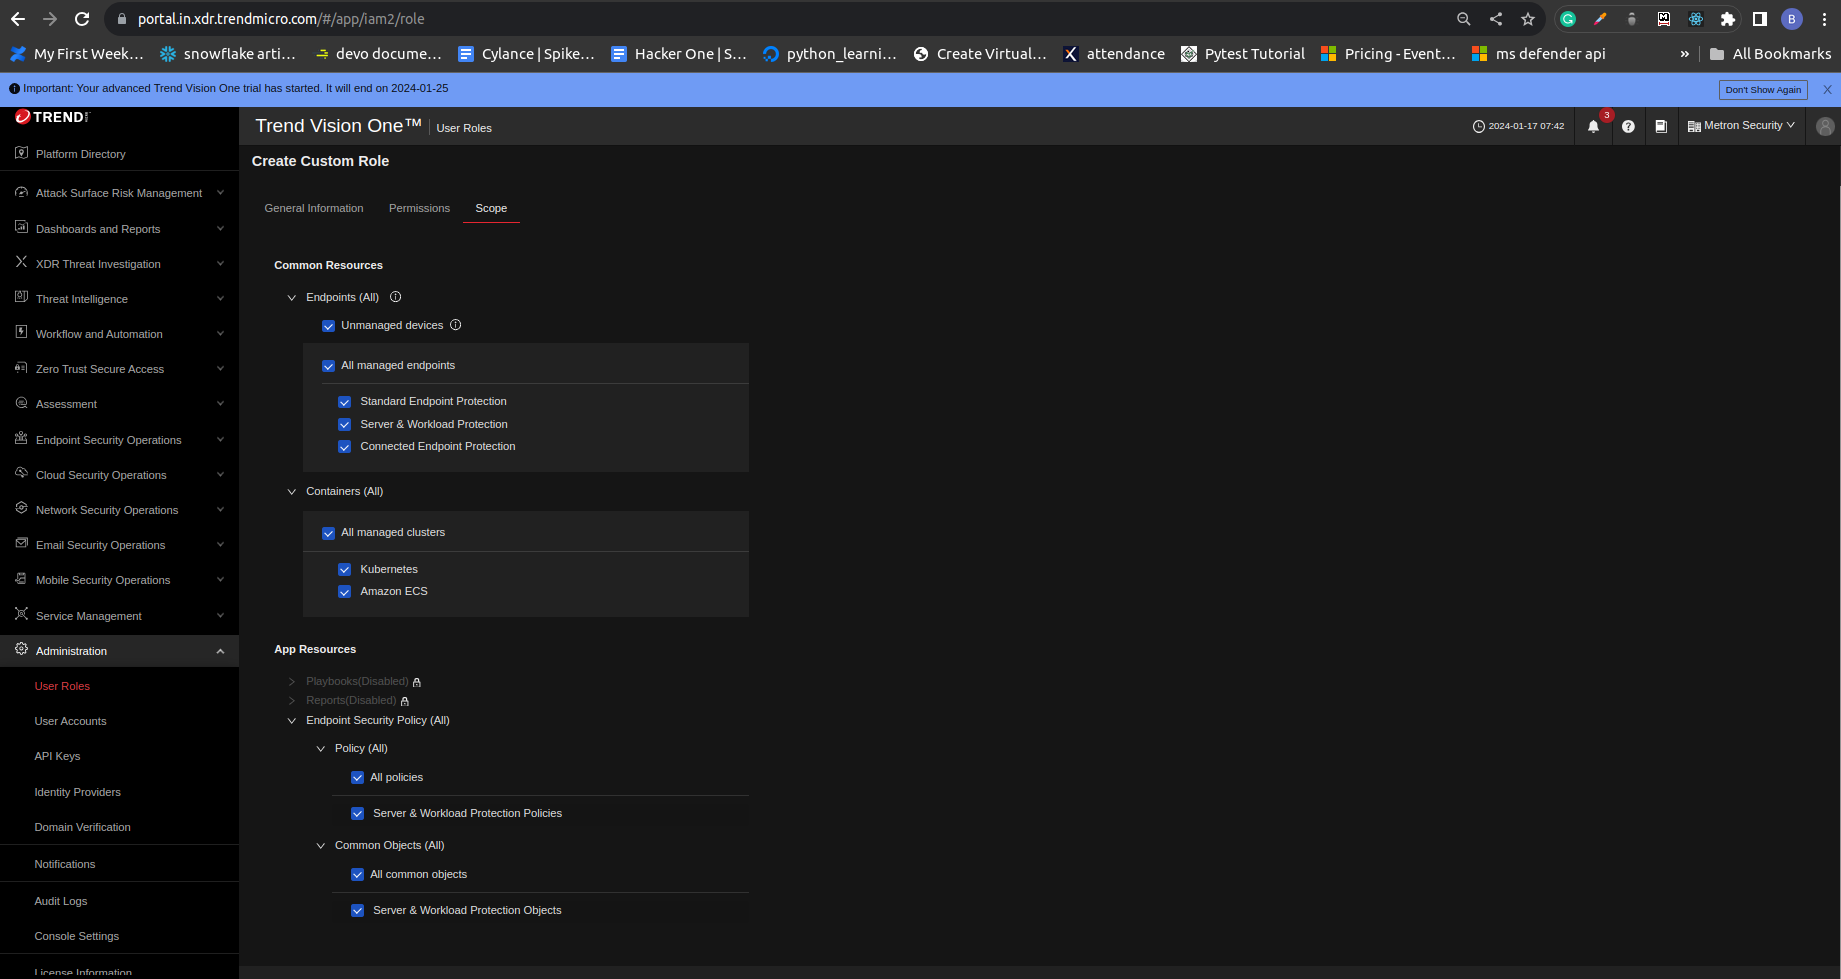
- Under the Scope section, select necessary scopes.
- Click on the Save button.
- Go to Administration > User Role > Add Role
- Generate API Key
- Go to Administration > API Keys > Add API Key
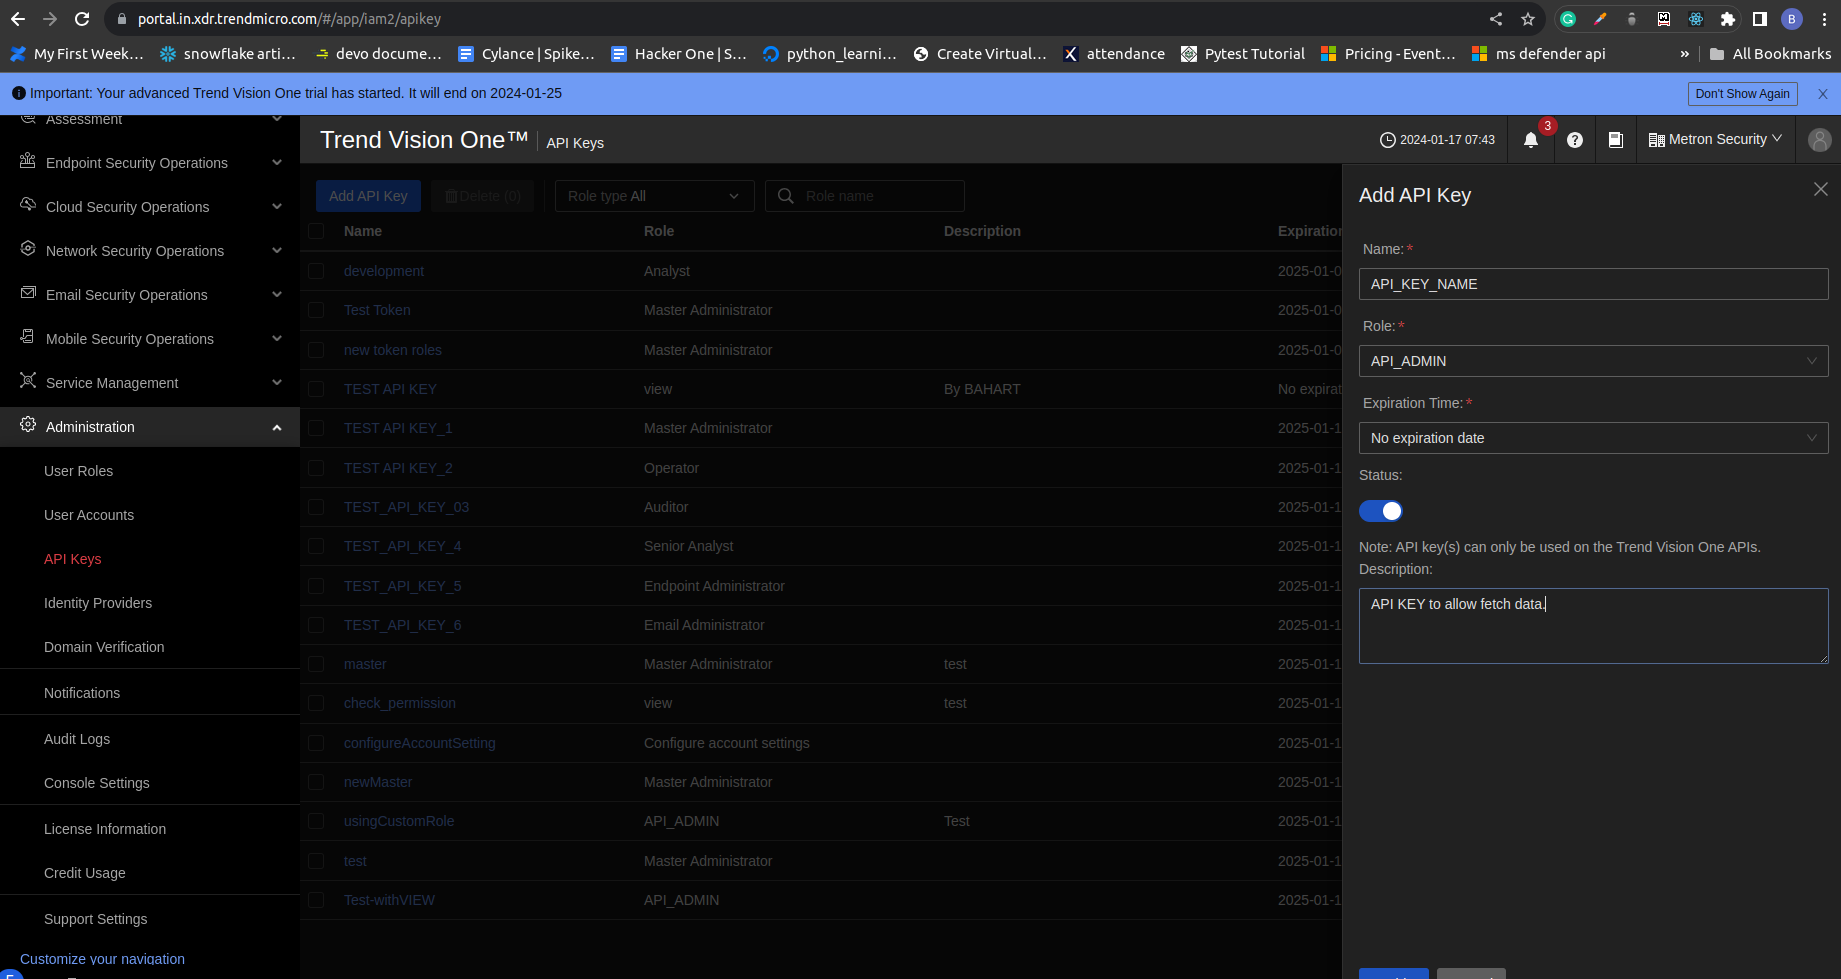
- Provide the API key name, Select the Role provided in step 3, and the Expiration time as No Expiration Date.
- Turn on the status and add the description for the API key.
- Click on the Add button.
- Go to Administration > API Keys > Add API Key
Configuration in JupiterOne
To install the Trend Micro integration in JupiterOne, navigate to the Integrations tab in JupiterOne and select Trend Micro. Click New Instance to begin configuring your integration.
Creating a configuration requires the following:
Authentication
In Trend Micro Vision One API Key enter the API key previously generated.
In Trend Micro Vision One API Base URL Enter the Trend Micro Vision One URL (e.g.
https://api.in.xdr.trendmicro.com).
[Optional] Disable TLS Verification - Set this to true in advanced settings only if you have an on-prem Trend Micro Vision One server that does not have a valid SSL certificate configured. For most cases this value should be false.
- Click Create Configuration after you have entered all the values.
General Settings
The Account Name used to identify the Trend Micro account in JupiterOne. Ingested entities will have this value stored in
tag.AccountNamewhen theAccountNametoggle is enabled.Description to assist in identifying the integration instance, if desired.
Polling Interval that you feel is sufficient for your monitoring needs. You may leave this as
DISABLEDand manually execute the integration.
Click Create once all values are provided to finalize the integration.
Next steps
Now that your integration instance has been configured, it will begin running on the polling interval you provided, populating data within JupiterOne. Continue on to our Instance management guide to learn more about working with and editing integration instances.
Data Model
Entities
The following entities are created:
| Resources | Entity _type | Entity _class |
|---|---|---|
| Account | trend_micro_account | Account |
| Alert | trend_micro_alert | Finding |
| Device_Sensor_Agent | trend_micro_sensor | HostAgent |
| Service | trend_micro_vision_one | Service |
| Vulnerability | trend_micro_vulnerability | Finding |
Relationships
The following relationships are created:
Source Entity _type | Relationship _class | Target Entity _type |
|---|---|---|
trend_micro_account | HAS | trend_micro_sensor |
trend_micro_account | HAS | trend_micro_vision_one |
trend_micro_sensor | HAS | trend_micro_alert |
trend_micro_vulnerability | EXPLOITS | trend_micro_sensor |