CyberArk EPM
Visualize CyberArk EPM account, policies, devices, application groups and monitor changes through queries and alerts.
- Installation
- Authorization
- Data Model
- Types
- Release Notes
Installation
You will need to create a user with the correct permissions as mentioned below.
-
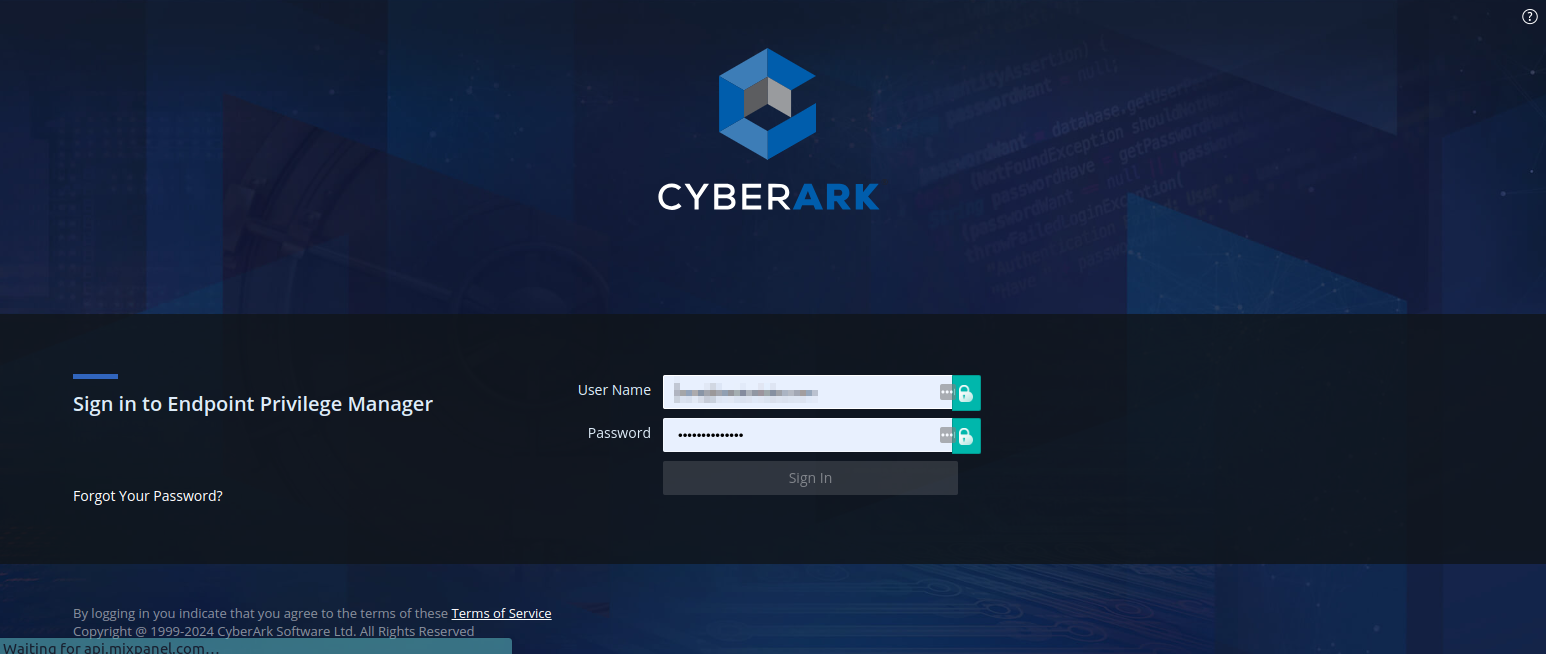
Using a web browser, log in to your CyberArk tenant (e.g., https://tenant-id.epm.cyberark.com/)
-
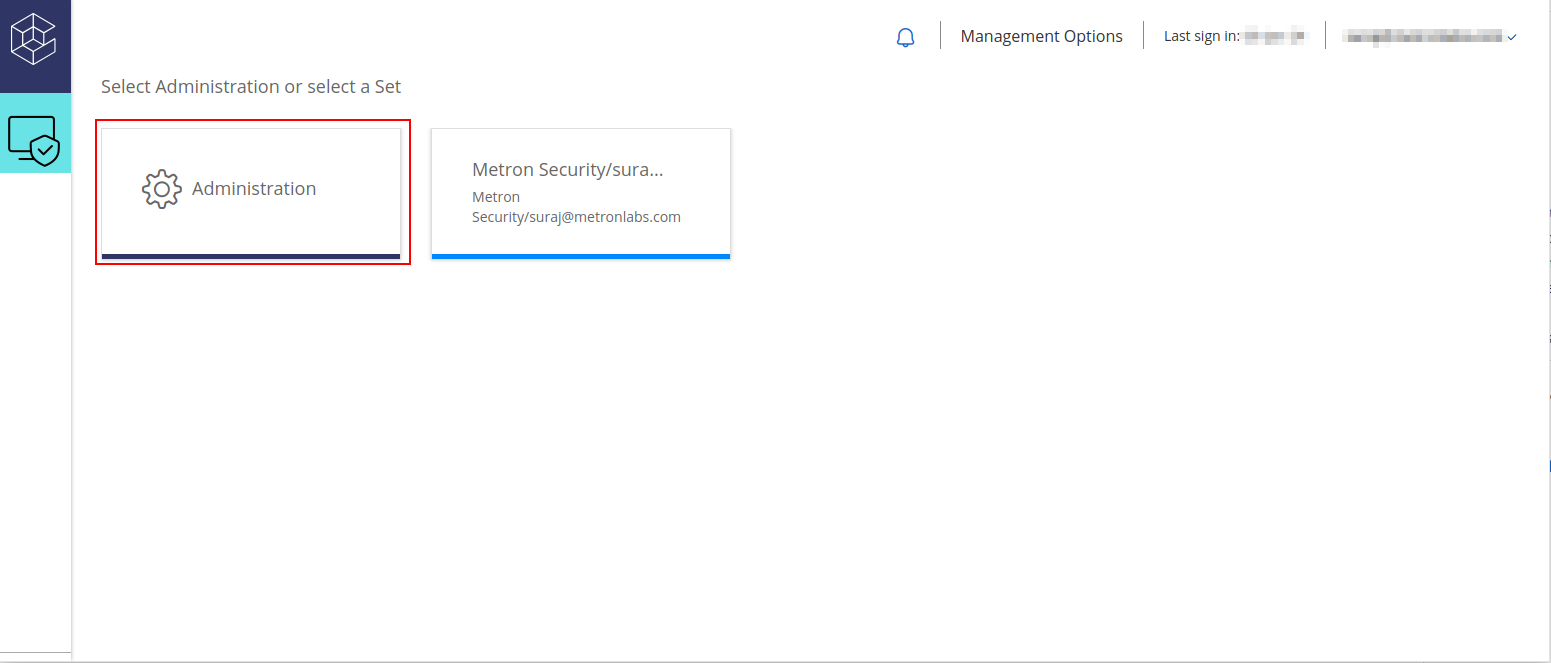
Click on the Administration tile
-
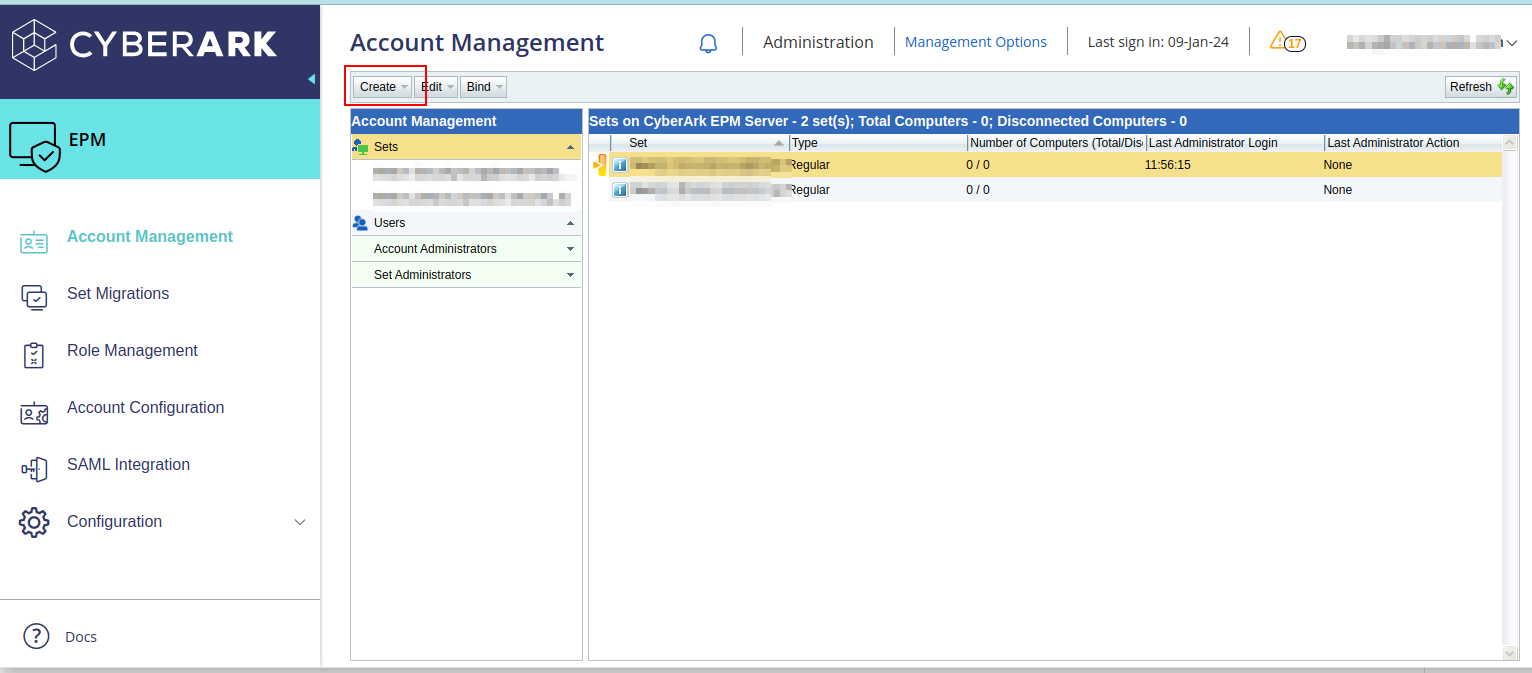
Click on Create and select Create User
-
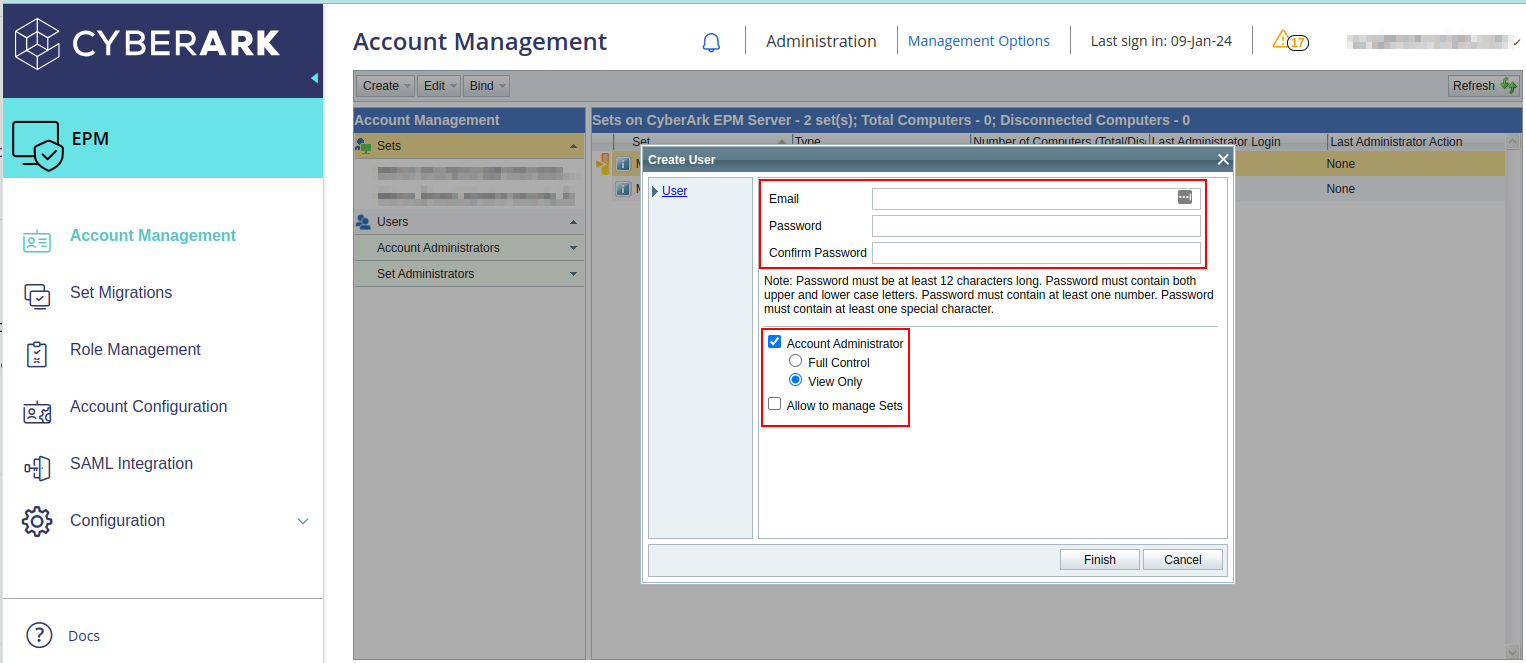
A pop-up will appear to fill in the credentials and permission details for the user. Complete the form and click Finish
-
You can use the Username and Password to log in to the portal as well as for generating the session token using the EPM Authentication API.
Configuration in JupiterOne
To install the CyberArk EPM integration in JupiterOne, navigate to the Integrations tab in JupiterOne and select CyberArk EPM. Click New Instance to begin configuring your integration.
Creating an instance requires the following:
-
The Server URL server name relevant for your region. All the possible values can be view here
-
The Username created in the previous step.
-
The Password create in the previous step.
-
The Account Name used to identify the CyberArk account in JupiterOne. Ingested entities will have this value stored in
tag.AccountNamewhen theAccountNametoggle is enabled. -
Description to assist in identifying the integration instance, if desired.
-
Polling Interval that you feel is sufficient for your monitoring needs. You may leave this as
DISABLEDand manually execute the integration.
Click Create once all values are provided to finalize the integration.
Next steps
Now that your integration instance has been configured, it will begin running on the polling interval you provided, populating data within JupiterOne. Continue on to our Instance management guide to learn more about working with and editing integration instances.
Entities
The following entities are created:
| Resources | Entity _type | Entity _class |
|---|---|---|
| Account | cyberark_epm_account | Account |
| ApplicationGroup | cyberark_epm_applicationgroup | Group |
| Device | cyberark_epm_device | Device |
| HostAgent | cyberark_epm_hostagent | HostAgent |
| Policy | cyberark_epm_policy | Policy |
| Service | cyberark_epm_service | Service |
Relationships
The following relationships are created:
Source Entity _type | Relationship _class | Target Entity _type |
|---|---|---|
cyberark_epm_account | HAS | cyberark_epm_service |
cyberark_epm_account | HAS | cyberark_epm_hostagent |
cyberark_epm_hostagent | PROTECTS | cyberark_epm_device |
cyberark_epm_policy | ENFORCES | cyberark_epm_service |
cyberark_epm_policy | ENFORCES | cyberark_epm_applicationgroup |
Cyberark Epm Device
cyberark_epm_device inherits from Device
| Property | Type | Description | Specifications |
|---|---|---|---|
setid | string |
Release Notes
- 2026-04-08 — Improved OS type accuracy for CyberArk EPM device entities.